
How To Pack Pictures For Moving?
How To Pack Pictures For Moving?
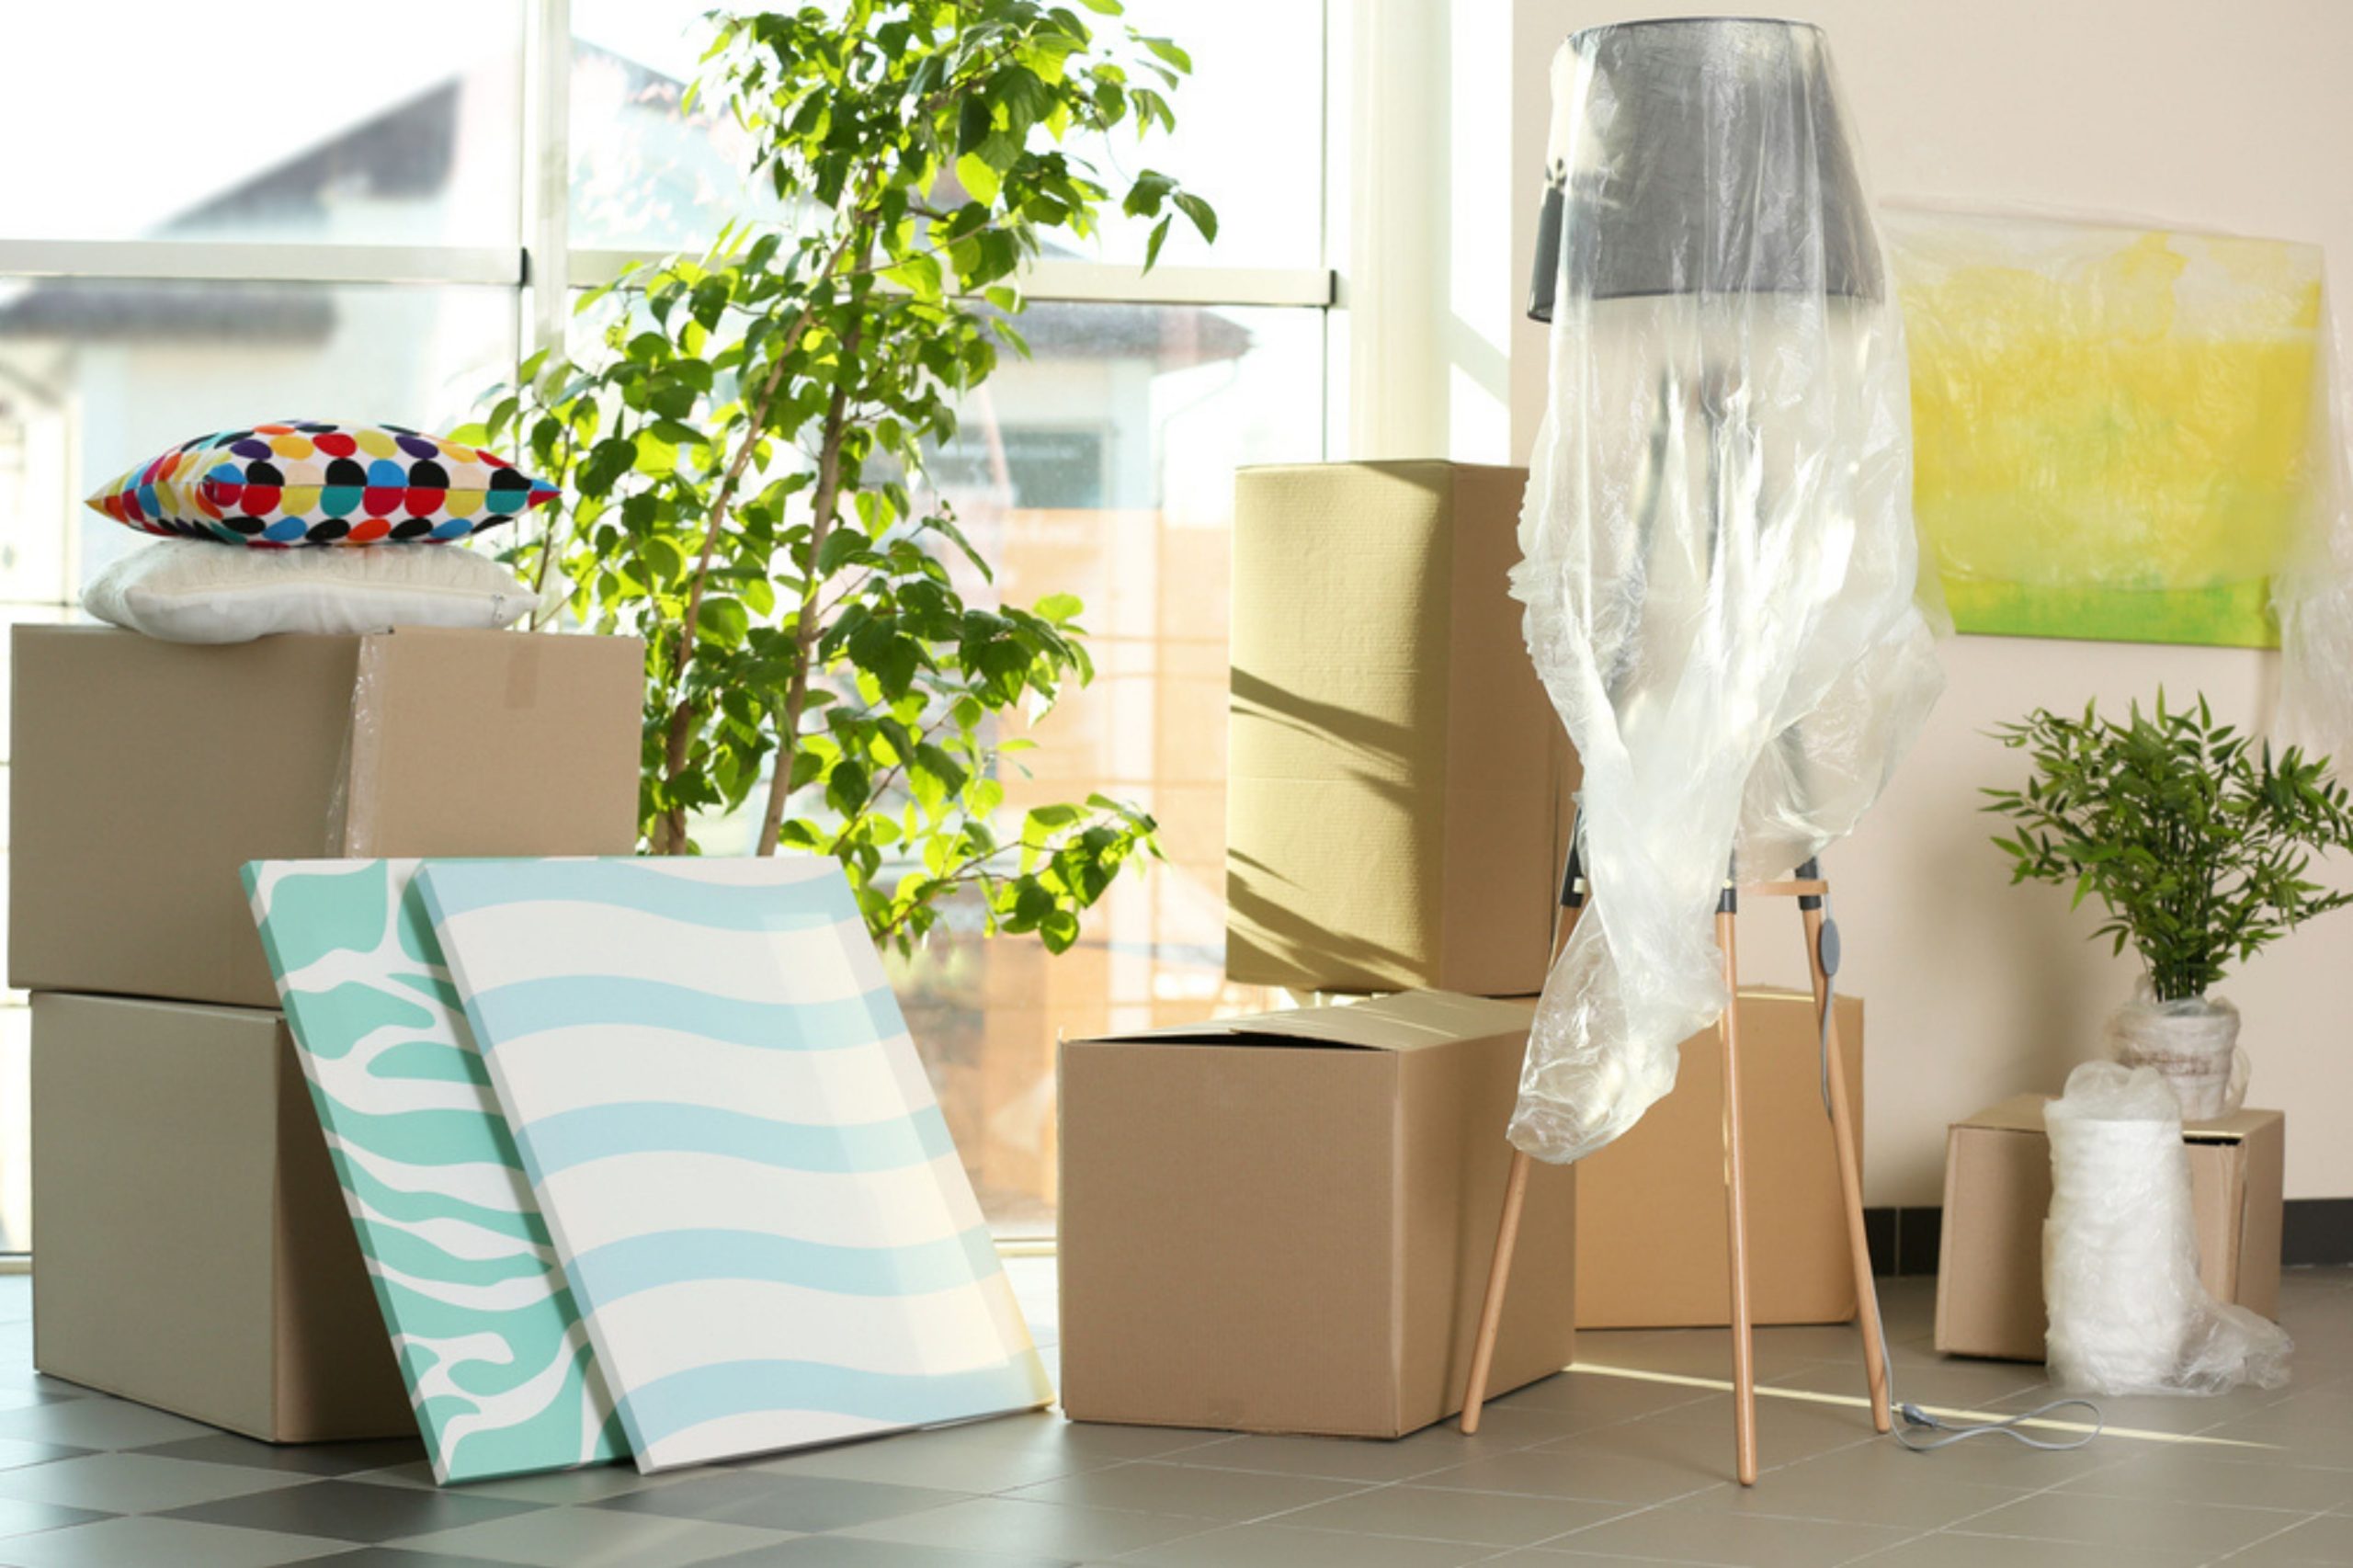
How To Pack Pictures For Moving? Moving to a new home is an exciting chapter in life, but the task of packing and protecting your cherished photos can be a bit daunting. Photographs are not only memories but also valuable possessions. To ensure they reach your new destination unscathed, follow these simple steps for packing pictures.
How To Pack Pictures For Moving?
Materials You’ll Need:
Before you begin, gather these materials:
- Packing Paper: This will serve as a buffer between pictures to prevent scratching.
- Packing Tape: To secure the wrapping.
- Picture Boxes: You can get these at moving supply stores, or use sturdy cardboard boxes.
- Bubble Wrap: For added protection if your pictures are particularly valuable or fragile.
Step-by-Step Guide:
- Set Up Your Workspace:
- Begin by clearing a clean, spacious area to work on packing your pictures. A large table or a clean floor space works well.
- Organize Your Pictures:
- Sort your photos or artwork by size and fragility. This way, you can pack them more efficiently.
- Wrap Individual Pictures:
- Lay out a sheet of packing paper and place a picture face down on the paper. Ensure that it’s centered and aligned with the paper’s edges.
- Create a Packet:
- Fold the sides of the paper over the picture. If you have any excess paper, trim it.
- Tape It Securely:
- Use packing tape to seal the paper packet. Make sure it’s tight but not too tight; you don’t want to press too hard on the picture.
- Wrap with Bubble Wrap (if necessary):
- If you have particularly valuable or fragile pictures, wrap the packed picture with a layer of bubble wrap for extra cushioning.
- Label the Pictures:
- Use a marker to label each packet with a brief description of the content or the room they belong in. This makes unpacking much easier.
- Fill the Picture Box:
- Line the bottom of a sturdy picture box with crumpled packing paper to create a cushion.
- Layer and Fill Gaps:
- Place the wrapped pictures vertically, with the packets’ edges touching the bottom of the box.
- Add layers of crumpled paper or bubble wrap between each layer of pictures to prevent movement during transit.
- Top It Off:
- Finish with another layer of cushioning material to protect the pictures and fill any gaps.
- Seal and Label the Box:
- Gently close and securely tape the box. Be sure to label it as “Fragile” and “Pictures” to alert your movers to handle with care.
Consider Professional Movers:
While packing your pictures yourself is certainly manageable, professional movers, like Cheap Movers Los Angeles, can make this process even more straightforward. They come equipped with experience in handling delicate items and use specialized packing materials designed to keep your cherished memories intact. By opting for professional assistance, you can ensure your pictures are ready to adorn the walls of your new home, just as they did in your old one.
By adhering to these guidelines and potentially seeking help from professional movers, you can move your pictures safely and securely, preserving your memories for years to come.